Manage Administrative Documents
Centralize and organize all important administrative documents for your institution.
Introduction
The Administrative Documents feature allows you to store, organize, and share all official and important documents of your school in a secure and centralized way.
Good to know
Each document can contain multiple PDF files. You can add, view, edit, and delete documents at any time according to your permissions.
Common document types
Internal regulations
Rules of conduct, code of conduct, charters
Official forms
Registration forms, parental authorizations
Legal documents
Authorizations, certificates, attestations
Add an administrative document
Step 1: Access the module
- 1 In the sidebar menu, click on GO4SCONFIG
- 2 Select General
- 3 Go to the Administrative Documents
- 4 Click on the + Add a document
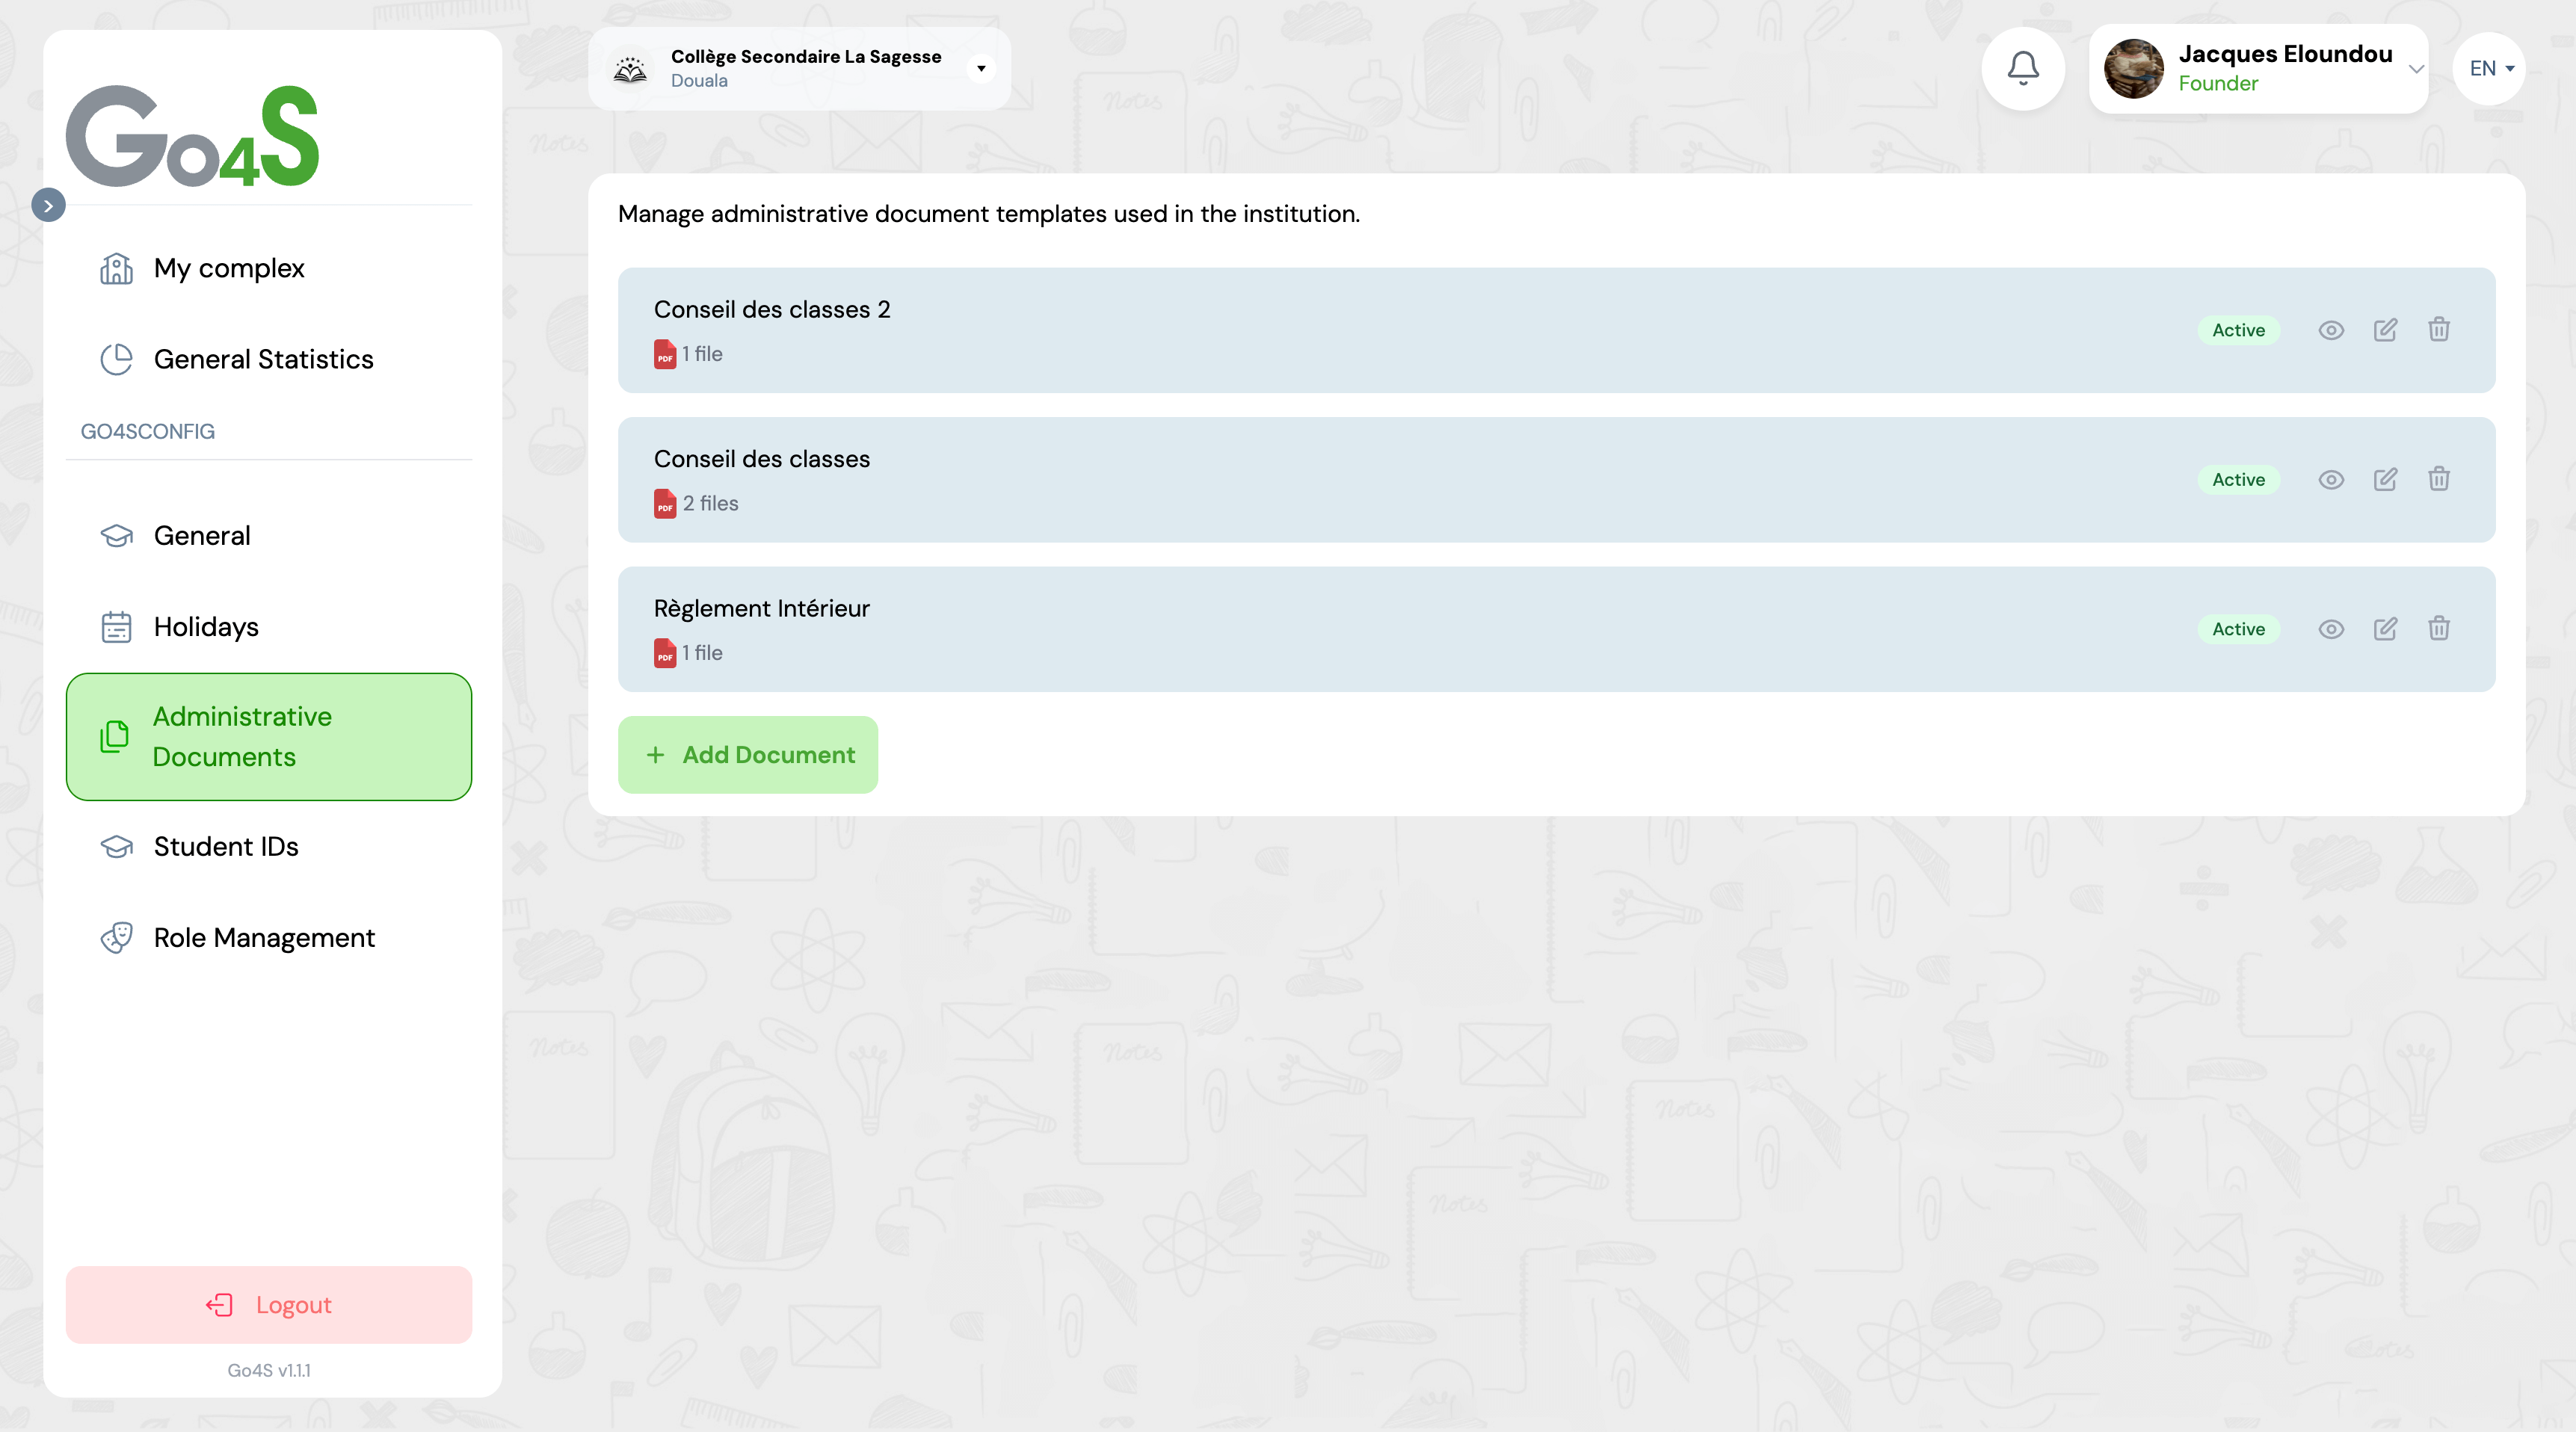
List of administrative documents with add button
Step 2: Fill in the form
📝 Document name
Give your document an explicit name (e.g., "Internal Regulations 2024-2025", "Registration Form")
Example: Internal Regulations 2024-2025
📎 PDF files
Select one or more PDF files from your computer
Note: Only PDF files are accepted. You can select multiple files at once.
👥 Document Visibility
Select at least one target audience who will be able to view this document
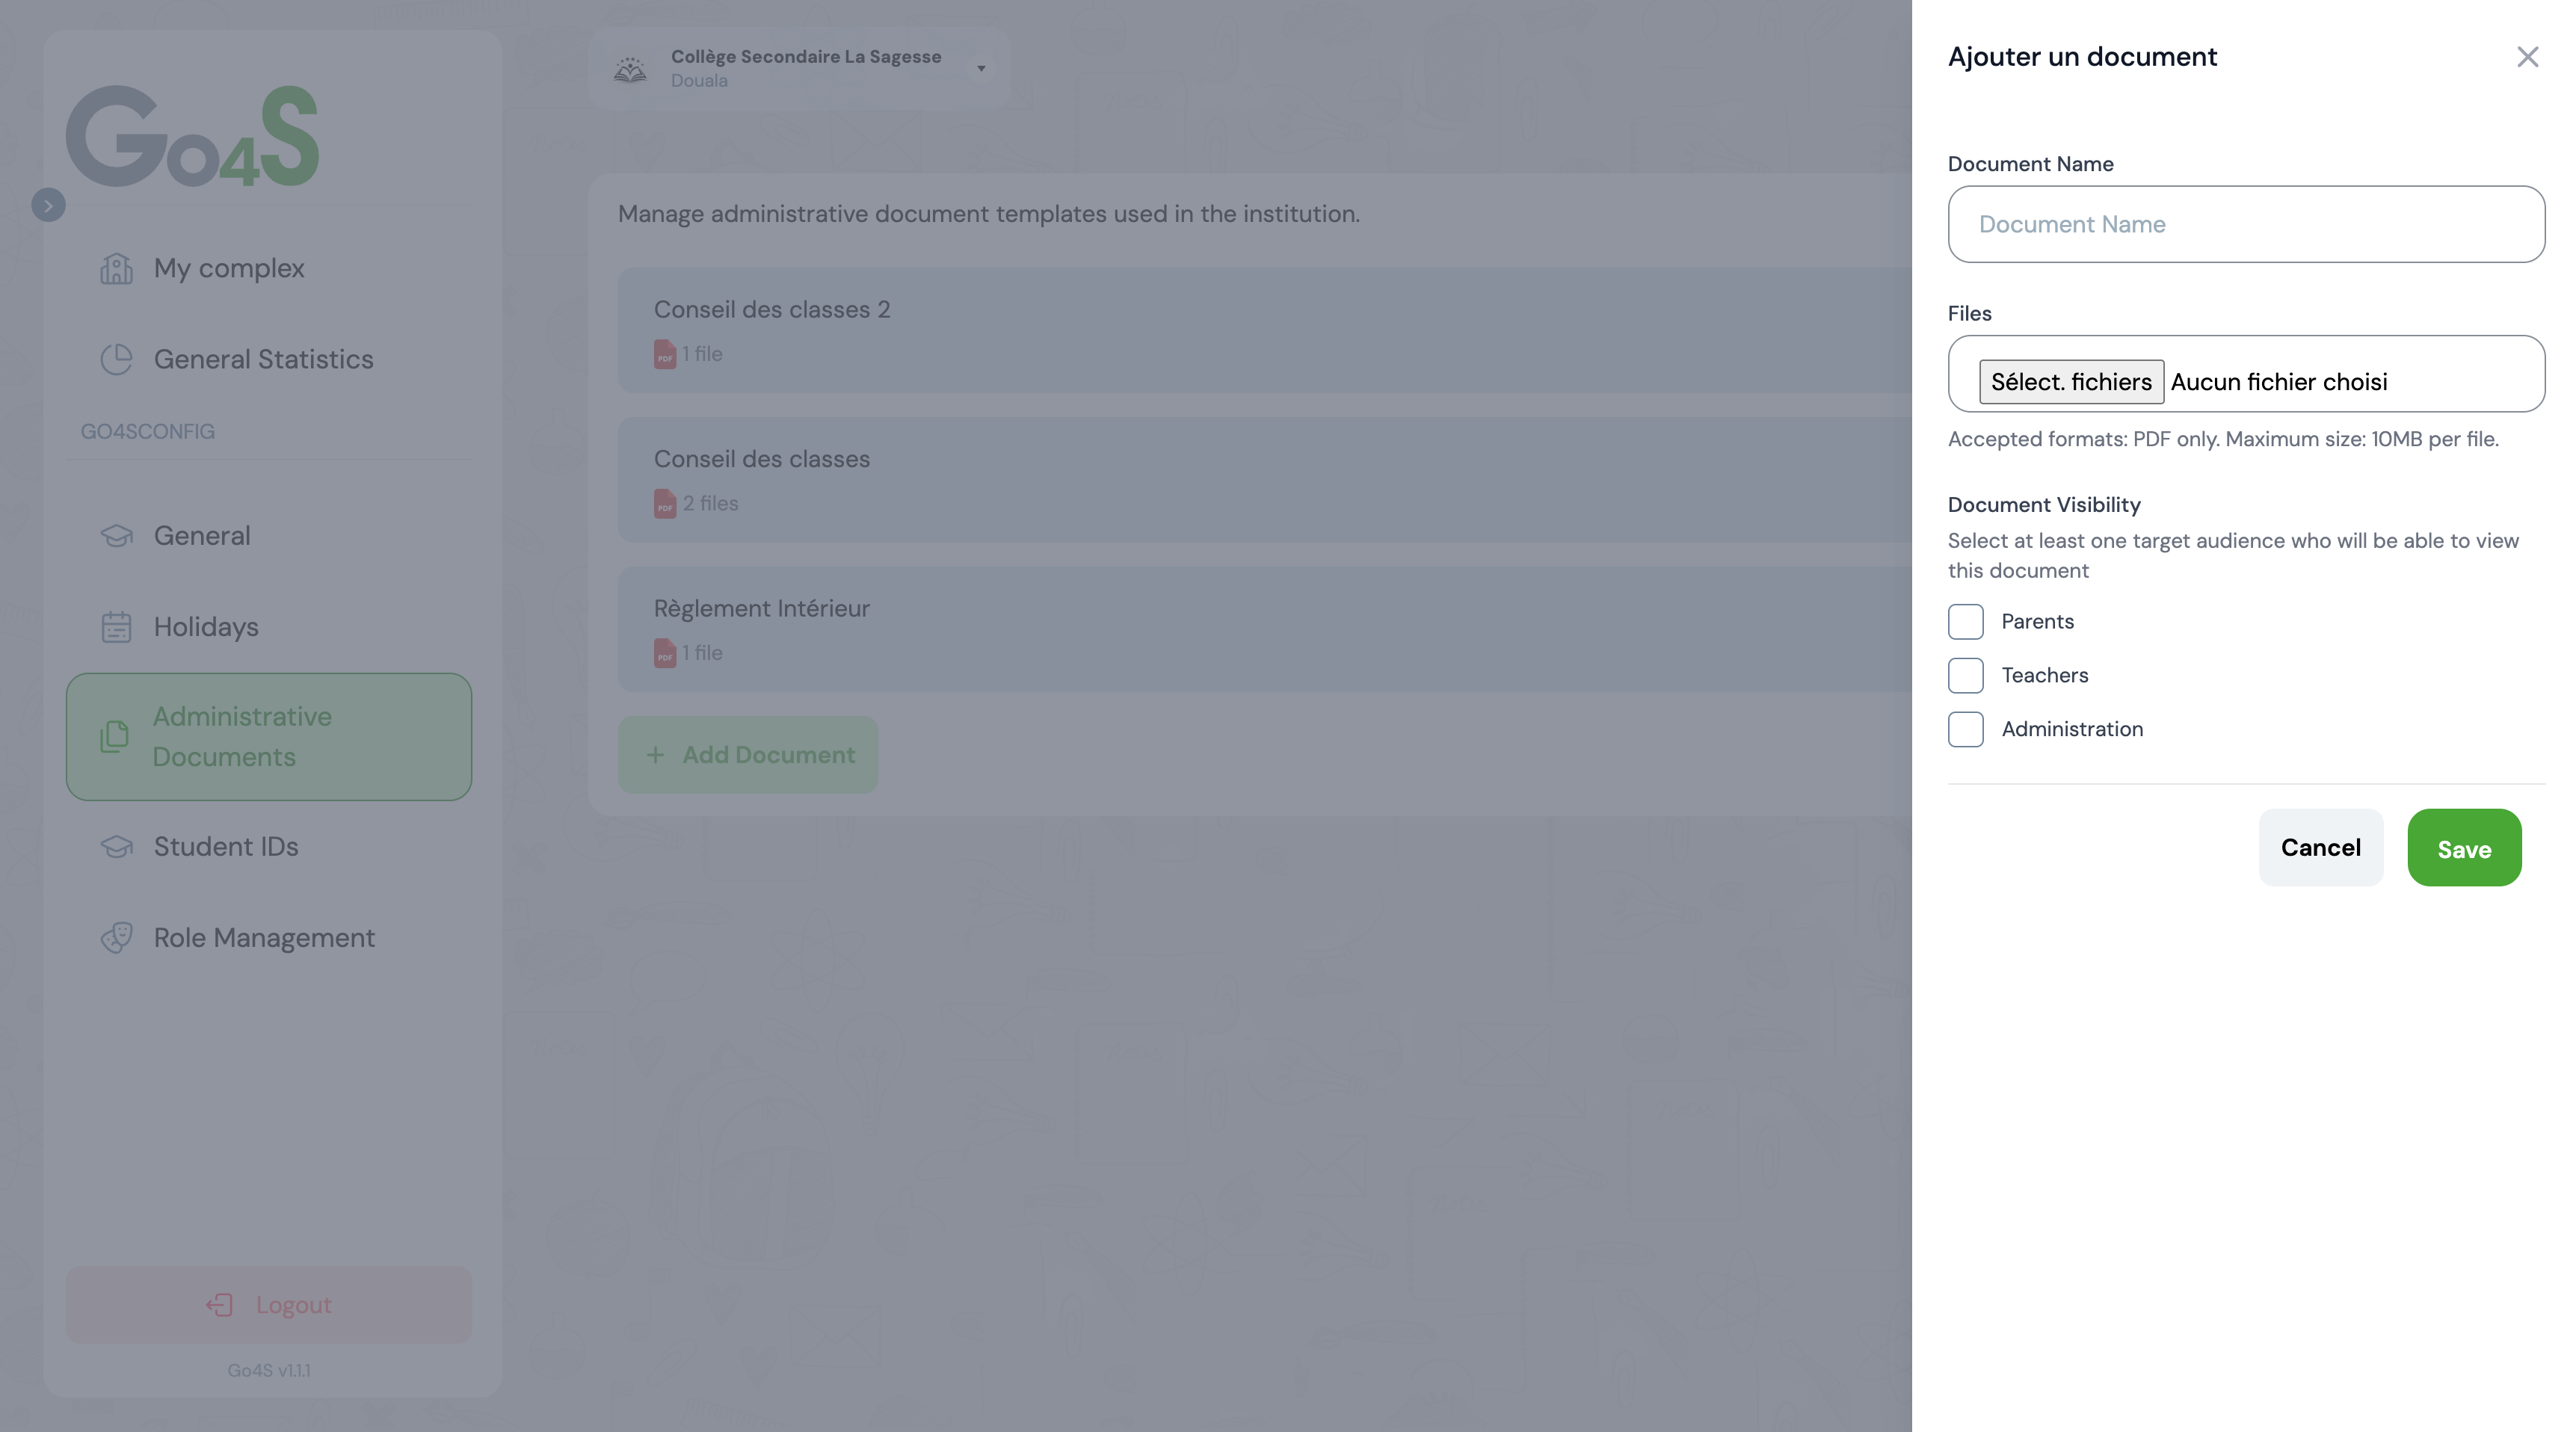
Document add form with name, files, and visibility fields
View document details
You can view document details at any time to see all attached files and download those you need.
👁️ Open details
- 1. In the document list, locate the desired document
- 2. Click on the eye icon on the right
- 3. The side panel opens with all details
- 4. View the complete list of PDF files
⬇️ Download a file
- 1. In the details panel, browse the file list
- 2. Click on the file you want to download
- 3. The PDF file downloads automatically
- 4. You can open it with your PDF reader

Side panel displaying document details and files
Edit a document
You can edit a document's name, add new PDF files, or change the visibility of an existing document at any time.
Important
When you add new files during editing, they are added to existing files. Old files are not automatically replaced.
Steps to edit
- 1 In the list, click on the pencil icon of the document
- 2 Modify the document name if necessary
- 3 Modify visibility by checking or unchecking targets (Parents, Teachers, Administration)
- 4 Add new PDF files if desired
Manage attached files
Each document can contain multiple PDF files. You can add new files or delete existing files individually.
➕ Add files
To add new PDF files to an existing document:
- 1. Click on the document's edit icon
- 2. Use the file selector to choose new PDFs
- 3. New files are added to existing files
- 4. Save to finalize the addition
🗑️ Delete a file
To delete a specific file from a document:
- 1. Open the document details (eye icon)
- 2. Locate the file to delete in the list
- 3. Click on the file's delete icon
- 4. Confirm deletion if prompted
Tip
To maintain optimal organization, limit the number of files per document to 5-10 maximum. If you have many files, create multiple documents with explicit names.
Delete a document
If a document is no longer needed, you can permanently delete it from the platform.
Warning: Irreversible action
Deleting a document permanently deletes all attached files. This action cannot be undone. Make sure you have backup copies if needed.
Deletion procedure
- 1 In the document list, locate the one you want to delete
- 2 Click on the delete icon (trash)
- 3 A confirmation window appears
- 4 Confirm deletion to permanently erase the document
Best Practices
Name your documents clearly
Use descriptive names including the year if relevant (e.g., "Internal Regulations 2024-2025" rather than "Document1")
Organize your files by category
Create separate documents for each type (regulations, forms, certificates, etc.) to facilitate search
Verify PDF quality
Ensure your PDF files are readable and of good quality before uploading
Update regularly
Delete obsolete documents and replace them with updated versions to avoid confusion
Limit file sizes
Optimize your PDFs to reduce their size and facilitate downloading, especially for users with slow connections
Frequently Asked Questions
What file formats are accepted?
Currently, only PDF files are accepted. This format ensures that your documents retain their original layout and are viewable on all devices. If you have Word or Excel documents, convert them to PDF first before uploading.
Is there a file size limit?
The maximum recommended size per file is 10 MB. Beyond that, downloading can be slow and cause performance issues. For large files, try compressing them or splitting them into multiple parts.
Who can see my administrative documents?
Administrative document visibility is controlled by the "Visibility" field you define when creating the document. You can choose to make a document visible to Parents, Teachers, Administration, or a combination of these three groups. Only people belonging to the selected groups and with appropriate permissions will be able to view the document. You can manage general permissions in the "Roles and Permissions" section of GO4SCONFIG.
Can I recover a document deleted by mistake?
No, document deletion is permanent and irreversible. That's why a confirmation message is always requested before deletion. If you delete a document by mistake, you will need to upload it again. We recommend always keeping backup copies of your important documents on your computer.
How to share a document with parents?
Administrative documents are not directly shareable with parents via this module. To share a document with parents, use the GO4SCOM (Communication) module which allows sending files via messages, notifications, or publications on the parent portal.
Next Steps
Now that you have mastered administrative document management, discover other features: